Fusion Gel – Clear
$44.00 Inc GST.
In stock
Description
Colour Me Pretty Stuck On You Fusion Gel –
the revolutionary nail enhancement system that allows you to create flawless, long-lasting nail extensions and enhancements.
Colour Me Pretty Fusion Gel combines the best qualities of both acrylic and gel systems, giving you the perfect balance of strength, flexibility, and ease of application. This unique formula is incredibly versatile, allowing you to create customized nail shapes, lengths, and designs with precision and control. Lighter and more flexible than acrylic, stronger than gel and simple to use. Odour free, it files like butter and allows unlimited work time with no heat spikes and no airborne dust.
Say goodbye to bulky and uncomfortable nail extensions. Fusion Gel offers a lightweight and comfortable feel on the nails, providing a natural-looking result that lasts. You’ll enjoy beautiful, durable nails that withstand daily activities without chipping, lifting, or breaking.
With CMP Fusion Gel, you have complete control over your nail creations. The gel-like consistency of Fusion Gel gives you ample time to sculpt and perfect your design before curing under a UV or LED lamp.
Not only is Fusion Gel easy to work with, but it also delivers exceptional results. Your nails will have a high-shine finish that rivals any salon, making heads turn wherever you go. Plus, with a wide range of colours to choose from, you can unleash your creativity and express your unique style.
For Professional Use Only.
Please Note: This product’s current formula contains no HEMA or TPO complying with Euro regulations.
FUSION GEL APPLICATION INSTRUCTIONS
1. Prep Nails: Shape the free edge, push cuticles back, and remove dust with Cleanser Plus. Use CMP Nail Prep & Primer (optional, not included in kit) to dehydrate and prime nails.
2. Apply 1 coat of CMP Base Coat. Cure.
3. Dispense Fusion Gel: Squeeze out the needed amount from the tube. Use the Fusion tool to slice and roll it onto the nail. If excess is applied, slice and store in a UV-safe container for reuse.
4. Pour a small amount of Cleanser Plus/Alcohol into a dappen dish. Dip Fusion Gel brush lightly to moisten (not flood). Pat and shape the gel into place, paying attention to cuticle area and sidewalls. Re-dip lightly if brush gets sticky. For enhancements, ensure you build an apex.
5. Once shaped, cure for 30 seconds in CMP Galaxy Lamp (see other lamp cure times as needed).
6. Remove inhibition layer. File to refine or buff to a high shine if required.
7. Remove dust with Cleanser Plus.
8. If not applying gel polish: Apply CMP Top Coat and cure for 30s. Finish with CMP Cuticle Oil.
9. If applying gel polish: Apply colour coats, curing each layer. Seal with CMP Top Coat, cure, and finish with CMP Cuticle Oil.
FUSION GEL REMOVAL INSTRUCTIONS
Fusion Gel can be removed by filing or by filing combined with soaking in acetone. Filing is the faster method, while soaking is slower and better for thinner applications.
COMPLETE FUSION GEL REMOVAL BY FILING
1. File off the majority of product using a 100 or 150 grit file or an eFile. Avoid filing the natural nail.
2. Switch to a 180 grit file to carefully remove remaining product closer to the nail.
3. Finish with a 240 grit file or buffer to blend any leftover product into the natural nail.
4. Buff with a High Shine buffer to restore natural nail shine.
FUSION GEL REMOVAL BY FILING & SOAKING
1. File off the majority of product using a 100 or 150 grit file or an eFile. Avoid filing the natural nail.
2. Soak the remaining product in acetone. Use hot water or a heat pack to speed the soak-off. After 5 minutes, gently scrape softened product with a Fusion tool. Repeat until removed. Apply lighter pressure as you near the natural nail to avoid damage.
3. Buff with a High Shine buffer to restore natural nail shine.
| Feature | Fusion Gel | Acrylic |
|---|---|---|
| Application | Applied with tube and brush dipped in Cleanser Plus/Alcohol; no strong smell. | Mixed with liquid monomer and acrylic powder; strong odour. |
| Work Time | Unlimited working time until cured under lamp. | Sets quickly in air; limited working time. |
| Curing | Cures in LED/UV lamp (30s+). | Air-cures; no lamp needed. |
| Strength | Strong, durable, flexible; less brittle than acrylic. | Very strong but can be more rigid/brittle. |
| Filing | Easier to file and refine. | Harder to file; produces more dust. |
| Odour | Odour-free. | Strong chemical smell from monomer. |
| Beginner-Friendly | Yes – slower pace, easier control. | Less beginner-friendly due to quick setting. |
Colour Selection & Accuracy
All colours are available for individual purchase—please refer to each individual listing for details.
While we strive to photograph each shade as accurately as possible, some colours may appear slightly different in person due to lighting or screen variations.
To ensure you are selecting the correct shade:
– Read the detailed colour descriptions in each listing
– View our swatching videos via our You Tube Channel
– Join our Facebook Product Support Group
– Or contact us directly via our social media messaging services (Facebook Page)
| Lamp Type | Wattage | Wavelength | Cure Time per Coat |
|---|---|---|---|
| CMP Galaxy Lamp | 54W | 365–405 nm | 30 seconds |
| CMP Aurora Lamp | 96W | 365–405 nm | 30 seconds |
| CMP Asteria Lamp | 72W | 365–405 nm | 30 seconds |
| UV Lamp | 36W | 200–400 nm | 2 minutes |
| LED Lamp | 12W | 400–450 nm | 1 minute |
GEL POLISH APPLICATION INSTRUCTIONS
- Shake Well
Always shake or stir gel polish thoroughly before use to ensure even pigment distribution. - Nail Preparation
Shape the free edge using a natural nail file. Do not file the surface of the natural nail unless you’re addressing lifting issues. If filing is necessary, use a 240-grit (or finer) file and proceed very lightly to avoid damaging the nail. - Cuticle Work
Gently push back cuticles using a metal cuticle pusher and remove true cuticle from the nail plate. - Cleanse the Nail
Use Cleanser Plus or isopropyl alcohol on a lint-free wipe to thoroughly clean the nail plate of oils and debris. - Dehydrate
Apply Colour Me Pretty Nail Prep to dehydrate the nail, improving product adhesion. - Prime (Optional)
Apply a thin layer of Colour Me Pretty Primer, avoiding cuticles and skin. Allow to air dry for 30 seconds. Primer is optional but may assist with adhesion if lifting occurs. - Apply Base Coat
Apply a thin layer of Colour Me Pretty Base Coat, avoiding contact with skin and cuticles. If product touches skin, remove it immediately with a cuticle pusher or orangewood stick before curing. - Cure Base Coat
Cure under LED lamp for 30 seconds or UV lamp for 1 minute. - Apply BOB (Optional)
If using BOB for added strength, apply a thin coat now. - Cure BOB
Cure each BOB layer for 30 seconds (LED) or 1 minute (UV). Apply 2–3 coats as needed for desired thickness. - Smooth the Surface (if needed)
If BOB has created unevenness, remove the inhibition layer before lightly filing to smooth the surface. - Apply Colour Coat – First Layer
Apply a thin, even coat of colour, avoiding contact with the cuticles and skin. Let it self-level for a few seconds before curing. - Cure Colour Coat
Cure under LED lamp for 1 minute or UV lamp for 2 minutes. - Apply Colour Coat – Second Layer
Apply a second thin coat, taking the same care as above. - Cure Colour Coat
Cure again: 1 minute (LED) or 2 minutes (UV). - Optional Third Coat
Assess coverage. If needed, apply and cure a third coat as above. - Apply Top Coat
Apply a thin layer of Colour Me Pretty Top Coat, ensuring full coverage without touching skin or cuticles. Seal the free edge. - Cure Top Coat
Cure under LED lamp for 1 minute or UV lamp for 2 minutes. - Remove Inhibition Layer (if needed)
If you used a non “No Wipe” Top Coat, cleanse the tacky layer with Cleanser Plus and a lint-free wipe. - Finish with Cuticle Oil
Allow nails to cool for 30 seconds. Apply cuticle oil and massage into nails and surrounding skin.
Enjoy up to two weeks of strong, long-lasting, chip-resistant nails.
GEL POLISH REMOVAL INSTRUCTIONS
There are multiple methods for removing our Gel Polish and Builder Gel products. Your preferred method may vary, but for best results, always begin by filing the top layer of product to break the seal—this significantly speeds up removal. Please note that glitter shades and thicker applications may require more time to remove.
Important:
Avoid forceful scraping to protect the natural nail. Always be gentle during the removal process.
REMOVAL WRAP METHOD
- Gently file the top layer of the product to break the seal.
- Tear the perforated end off the removal wrap.
- Place the pre-soaked wrap over the nail and secure it using the adhesive strip.
- Optional: Apply a warm heat pack over the fingertips to accelerate the process.
- After 10 minutes, check one nail. Use a cuticle pusher or orangewood stick to gently lift the softened product. If resistance is felt, rewrap and soak for an additional 5 minutes as needed.
FOIL WRAP METHOD
- Cut foil into squares large enough to wrap around each fingertip.
- Soak a cotton ball in acetone and place it directly on the nail.
- Wrap the nail and cotton ball tightly with foil to hold in place.
- Optional: Apply a warm heat pack over the fingertips to speed up the process.
- After 10 minutes, check one nail. Gently push off the softened product with a cuticle pusher or orangewood stick. If the product does not lift easily, rewrap and soak in 5-minute intervals until removal is complete
Helpful Tips for Gel Polish Users
Preparation is Key
Proper nail prep is essential for a successful gel manicure. With thorough preparation, you can expect up to two weeks of wear.
Allergy & Sensitivity Warning
Always check the ingredients of each product before use. If you have sensitive skin or allergies, we recommend performing a patch test prior to your first application.
UV Sensitivity
Individuals who are photosensitive may experience skin reactions from UV lamps. LED lamps are generally considered safer in this regard. If you have concerns, consult a healthcare professional before use.
Thin Layers Are Best
Apply all coats thinly to ensure proper curing and prevent wrinkling. You can always apply an additional coat if needed.
Shake Before Use
Shake or stir each bottle for at least 10 seconds before application to ensure even pigment and formula distribution.
Correcting Mistakes
If you’re unhappy with a coat before curing, simply wipe it off and reapply. This will not affect previous cured layers.
Protect Your Manicure
Certain cleaning products can weaken or break down gel polish. Always wear gloves when cleaning or washing dishes.
Nail Health First
Do not apply gel polish over damaged, infected, or wounded nails. If your nails are compromised, consult a healthcare professional before application.
Do Not File After Top Coat
Filing the nail after the top coat has been cured will break the seal and may lead to lifting or peeling.
Storage
Store your Gel Polish bottles upright, away from direct sunlight and heat to keep the product in perfect condition.
Curing
Ensure you are using the correct lamp and curing times recommended for your product to avoid under-curing.
General Nail Care
Treat your nails with care—they’re jewels, not tools. Avoid using them to open or pry objects to prolong your manicure.
Avoid soaking your nails in hot water (like baths or spas) immediately after application, as it can affect adhesion.
Need Help?
For additional support, please reach out to Melissa Howell via:
Facebook Page: Colour Me Pretty
Facebook Group: Colour Me Pretty Support
Email: colourmeprettynails@hotmail.com
Disclaimer:
Proper education and safe use of nail products and tools are your responsibility. Incorrect or improper use can result in damage or infection. Never perform services that cause pain, bleeding, or discomfort. Colour Me Pretty Nails & Accessories, Melissa Howell, and all associates are not liable for misuse, overuse, or misapplication of any products referenced in these guidelines.
Related products
-

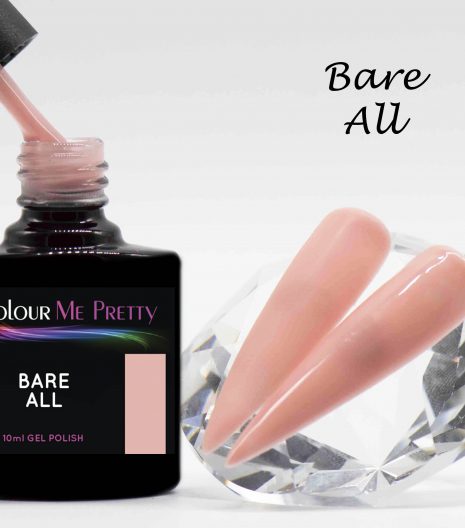
Gel Polish – Bare All
$11.00 Inc GST. Add to Cart -
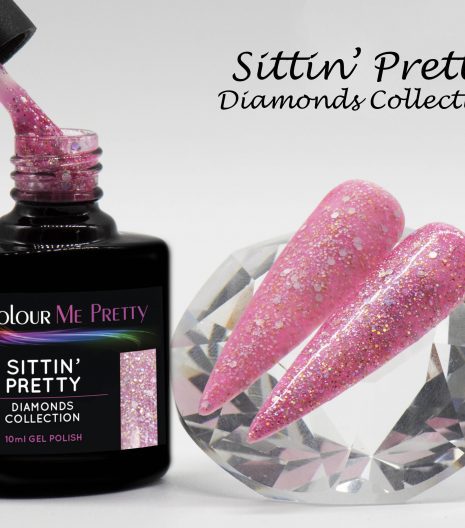
Gel Polish – Sittin’ Pretty
$11.00 Inc GST. Add to Cart -
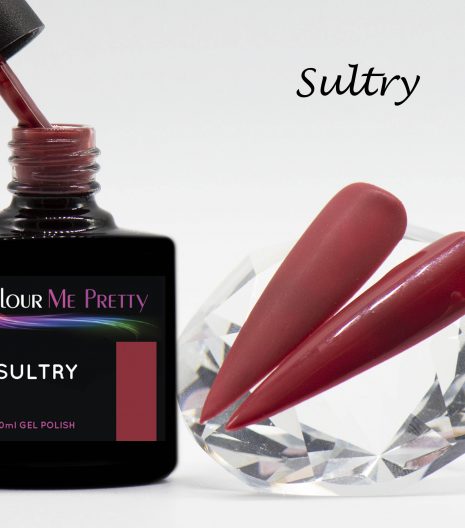
Gel Polish – Sultry
$11.00 Inc GST. Add to Cart -
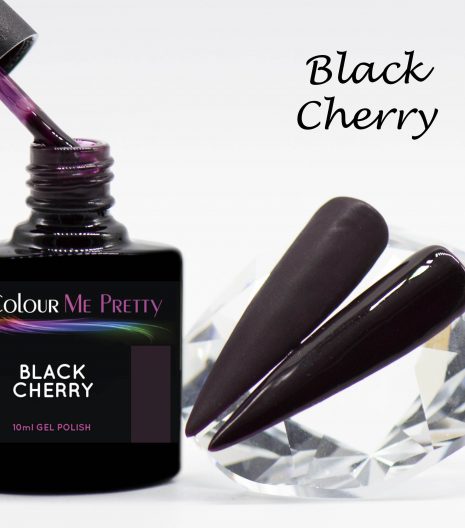
Gel Polish – Black Cherry
$11.00 Inc GST. Add to Cart